Skip to content
Search
Charts
Expand menu
Collapse menu
Australian
Admiralty
New Zealand
Maps
Expand menu
Collapse menu
GA 1:50K
GA 1:100K
GA 1:250K
GA 1:1M
NSW 1:25K
NSW 1:50K
NSW 1:100K
QLD 1:25K
QLD 1:50K
QLD 1:100K
TASMAP 1:25K
TASMAP 1:50K
TASMAP 1:100K
TASMAP 1:250K
Historic
AusENC
Expand menu
Collapse menu
Port Packs
Coastal Packs
Voyager Packs
Australia Pack
About AusENC
Equipment
Expand menu
Collapse menu
Stationery
Publications
Expand menu
Collapse menu
Commerical
Tide Tables
Cruise Guides
Cartography
Expand menu
Collapse menu
Cartography
Free Maps & Resources
About Us
Expand menu
Collapse menu
Contact Us
About Us
Privacy
T&C's
Postage
Site navigation
Search
Search
Cart
Menu
Site navigation
Charts
Australian
Admiralty
New Zealand
Maps
GA 1:50K
GA 1:100K
GA 1:250K
GA 1:1M
NSW 1:25K
NSW 1:50K
NSW 1:100K
QLD 1:25K
QLD 1:50K
QLD 1:100K
TASMAP 1:25K
TASMAP 1:50K
TASMAP 1:100K
TASMAP 1:250K
Historic
AusENC
Port Packs
Coastal Packs
Voyager Packs
Australia Pack
About AusENC
Equipment
Stationery
Publications
Commerical
Tide Tables
Cruise Guides
Cartography
Cartography
Free Maps & Resources
About Us
Contact Us
About Us
Privacy
T&C's
Postage
Item added to cart.
View cart and check out
.
Close
Close
Australian Charts
Sort by
Featured
Best Selling
Alphabetically, A-Z
Alphabetically, Z-A
Price, low to high
Price, high to low
Date, new to old
Date, old to new
Publishers
Products
Scales
Reset
AUS 152 - Plans In Western Port - Withdrawn
Regular price
Free
View
AUS 153 - Port Of Geelong - Withdrawn
Regular price
Free
View
AUS 154 - Williamstown And Yarra River - Withdrawn
Regular price
Free
View
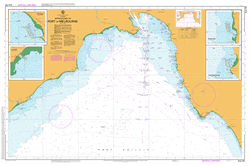
AUS 155 - Approaches To Port Of Melbourne
From $44
View
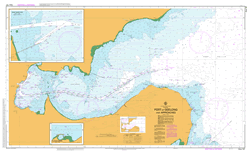
AUS 157 - Port Of Geelong And Approaches
From $44
View
AUS 158 - Port Phillip South And West Channels - Withdrawn
Regular price
Free
View
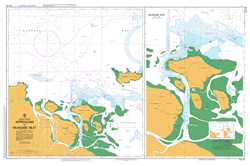
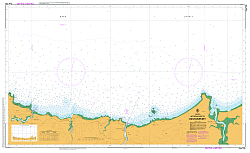
AUS 16 - Approaches To Milingimbi Inlet
From $44
View
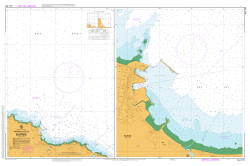
AUS 163 - Approaches To Burnie
From $44
View
AUS 164 - Approaches To Devonport
From $44
View
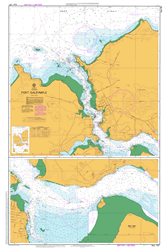
AUS 167 - Port Dalrymple
From $44
View
AUS 168 - River Tamar - Withdrawn
Regular price
Free
View
AUS 169 - Plans In Tasmania (Sheet 3) - Withdrawn
Regular price
Free
View
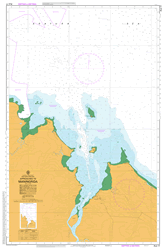
AUS 17 - Approaches To Maningrida
From $44
View
AUS 170 - Mercury Passage - Withdrawn
Regular price
Free
View
AUS 171 - Hobart To Norfolk Bay
From $44
View
AUS 172 - Port Of Hobart - Withdrawn
Regular price
Free
View
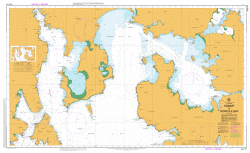
AUS 173 - Dentrecasteaux Channel
From $44
View
AUS 174 - Plans In Tasmania (Sheet 4) - Withdrawn
Regular price
Free
View
AUS 175 - Spring Bay Including Triabunna - Withdrawn
Regular price
Free
View
AUS 176 - Port Davey Including Bathurst Harbour
From $44
View
←
1
2
3
4
5
…
25
→